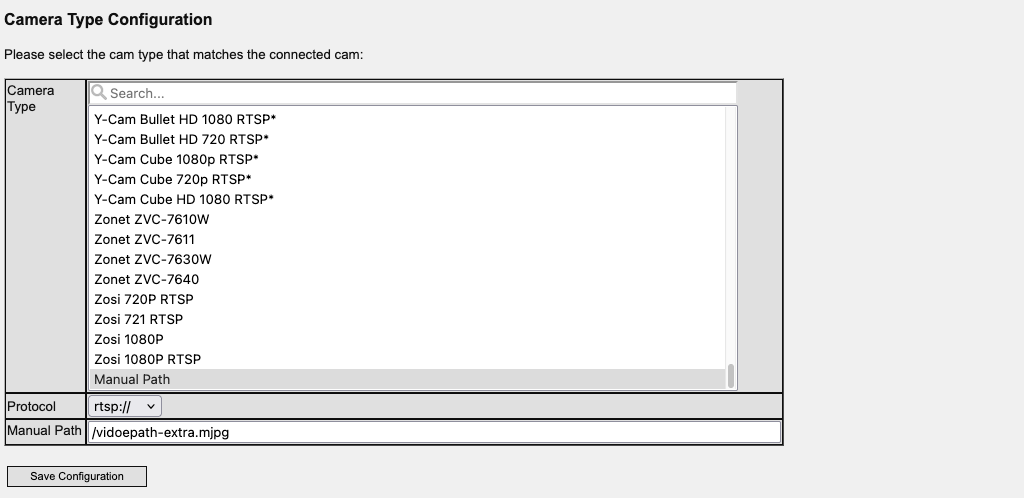
In case your camera is not listed but supported it can easily be connected under the item „Manual Path” in C-MOR. Just enter the directory of the URL of the camera’s live image or the camera’s MJPEG live stream.
Note
Information regarding the URLs of the streams of your camera will be available at the camera’s configuration page directly on the camera. You can also look for information at the camera manufacturer’s homepage or at the manual. You can also feel free to contact the C-MOR support regarding this topic.
To integrate a camera into C-MOR you have to supply the URL of the camera’s live picture. Or enter its MJPEG-Live-Stream e.g.:

After that, single camera options such as image rotation or maximum recording time can be defined. The description of each setting can be found next to the respective option in the table.
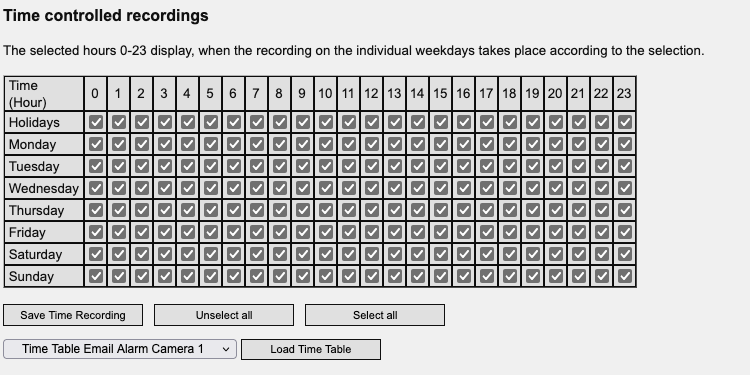
On the same configuration page, you are able to plan time-controlled recordings. Please click time and day when you would like to start the video surveillance.

Please carry out the settings in the table below for „Time Controlled Recording during Motion Detection” just as described above.
The third table defines the times in which alarm emails are sent. The configuration works again as described above. Please configure n the long configuration table if time based alarm emails are sent in general and if recordings are attached to emails. The email address is configured in this section as well.
Recordings can be started by external events (door switches, ultrasonic motion detectors, bell switches and many more). This requires a network switch, like e.g. Barionet or other Syslog-IP switches, to send a system message to C-MOR. The message has to be in accordance with the line defined in this section, which will then trigger the recording.
